
After a few years, the performance of a computer running the Windows operating system begins to deteriorate until the system becomes unusable.
Even if you take care and have the patience to install all updates and properly maintain the laptop, at some point the system becomes so slow that it seems inevitable to send it to e-waste. Initially, you can try to uninstall unnecessary programs, optimize the system registry, defragment the disk, and install operating system and driver updates, but it is very likely that the situation will not improve despite the efforts. The causes are often hardware obsolescence and the increasing resource demands of new programs.
What you can do to give a second life to a laptop or PC is one of these two things:
- reinstall Windows,
- try using a “lightweight” Linux distribution so that it can at least be used for browsing the Internet.
I chose the second path to recycle a laptop running Windows 10 that had become “very slow” and unusable.
Basically, you can install Linux on the laptop using a USB stick on which an image of the new operating system has been previously loaded, and boot the laptop so that it reads this USB stick instead of the disk (the one with the old operating system).
Below are the steps I followed during this procedure. It had been at least 15 years since I last dealt with these things, so it was a bit of a nostalgic experience.
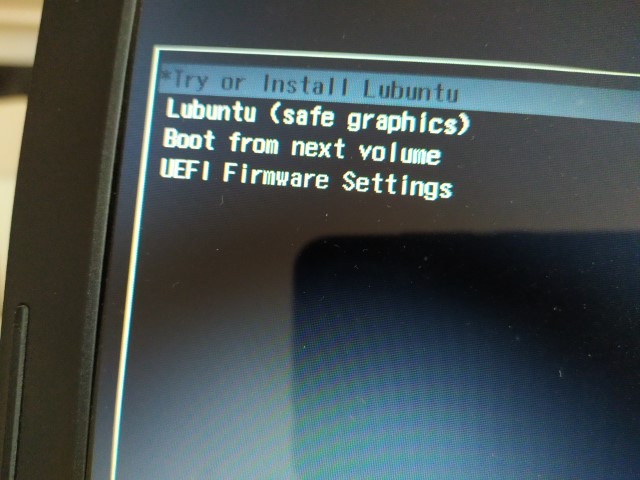
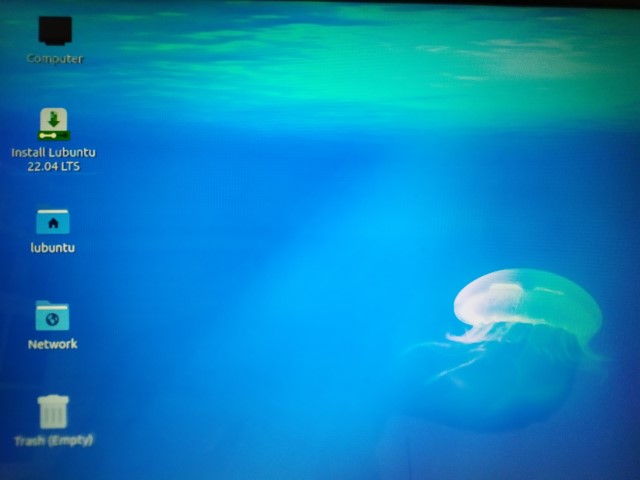
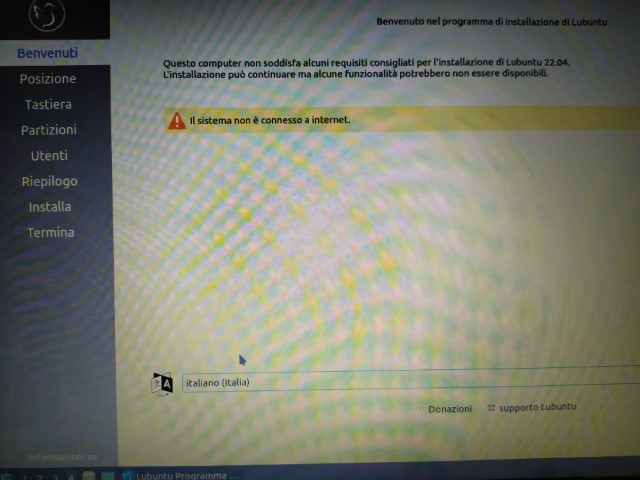
I preferred to collect the screenshots of the various steps in the image gallery at the bottom of the post.
Warnings:
- This procedure will erase all data on the old laptop, so if there is anything important, it must be saved to an external device.
- The USB stick data will also be overwritten, so this device cannot be used for backing up the laptop.
Ingredients:
- An old, slow laptop to recover.
- An external USB drive (for backing up data from the old system).
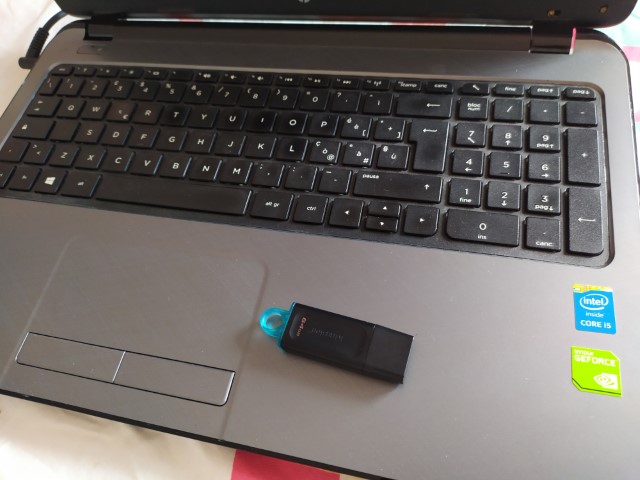
- A USB stick of at least 10GB (for creating the new system image).
- A bit of patience.
Procedure:
1. Backup data from the old laptop
- Perform a system backup or copy the data you want to save to an external drive.
2. Choose a distribution and create a bootable Linux image
These operations can be done on the old system if you have patience, or on another system:
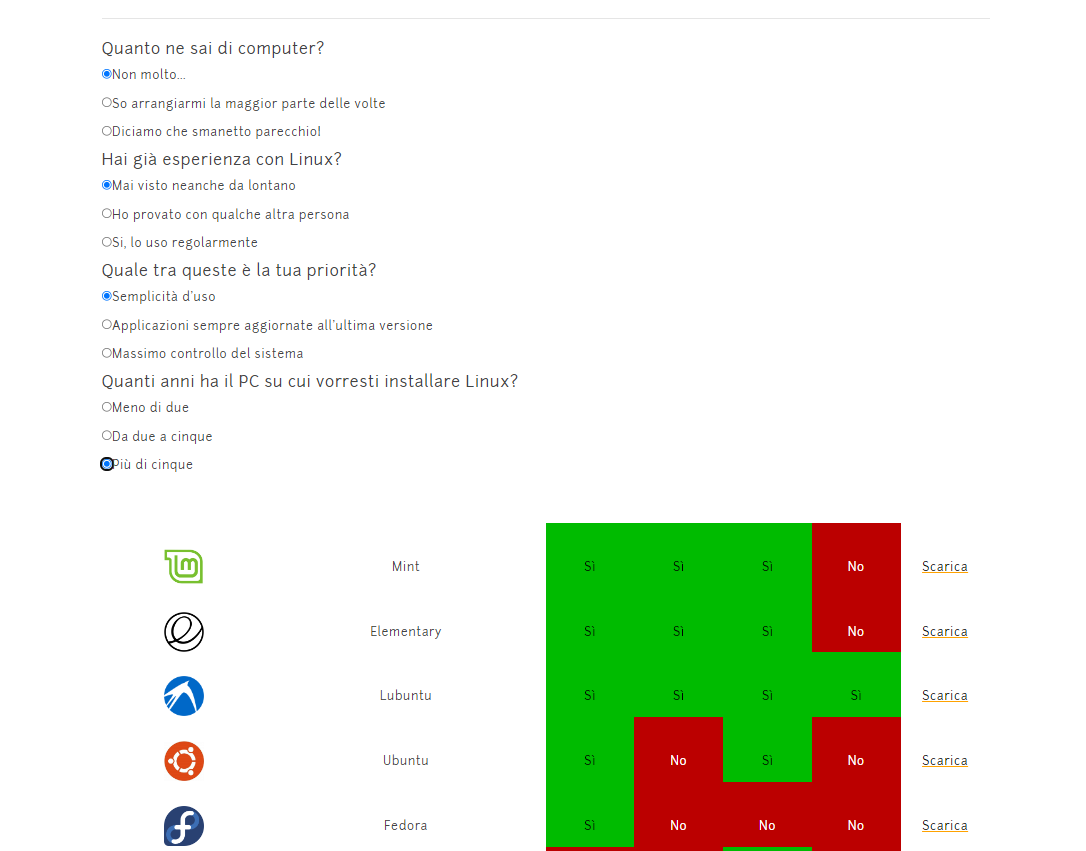
- To choose the Linux distribution to install, you can use this tool provided by Linux.it. By answering some questions, it will suggest the best distribution. I first tried Linux Mint and then Lubuntu [01]. It is advisable to prefer a simple and lightweight distribution. Once chosen, download the image locally; it will be a file with the ISO extension (for example: linuxmint-21.2-cinnamon-64bit.iso or lubuntu-22.04.3-desktop-amd64.iso).
- To create an image of the new operating system, you can follow a procedure [02] summarized as follows:
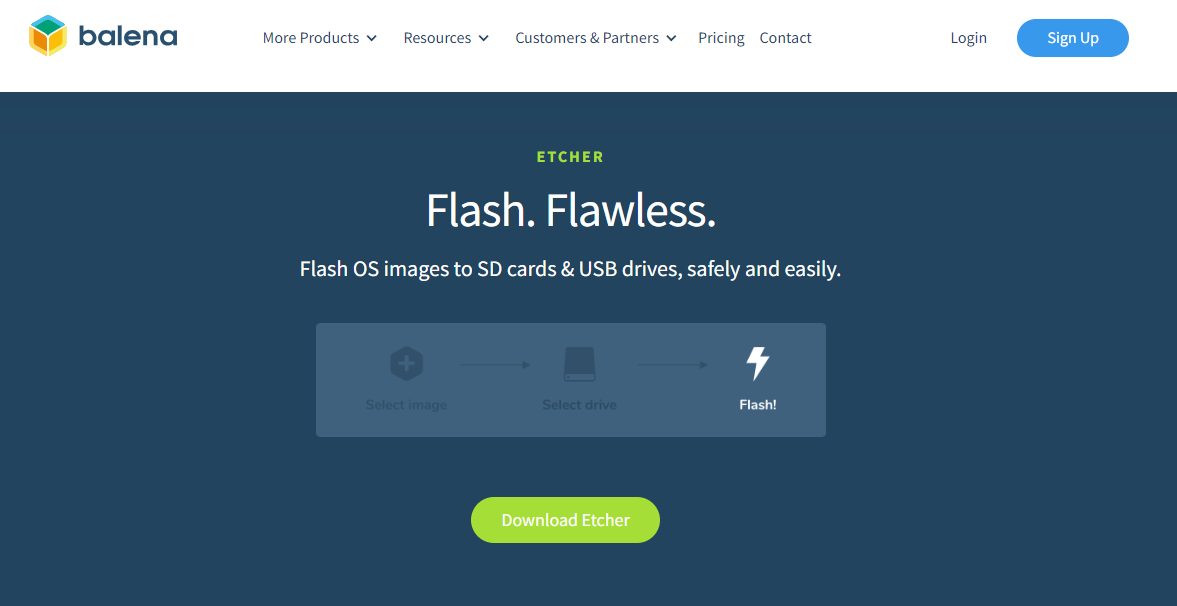
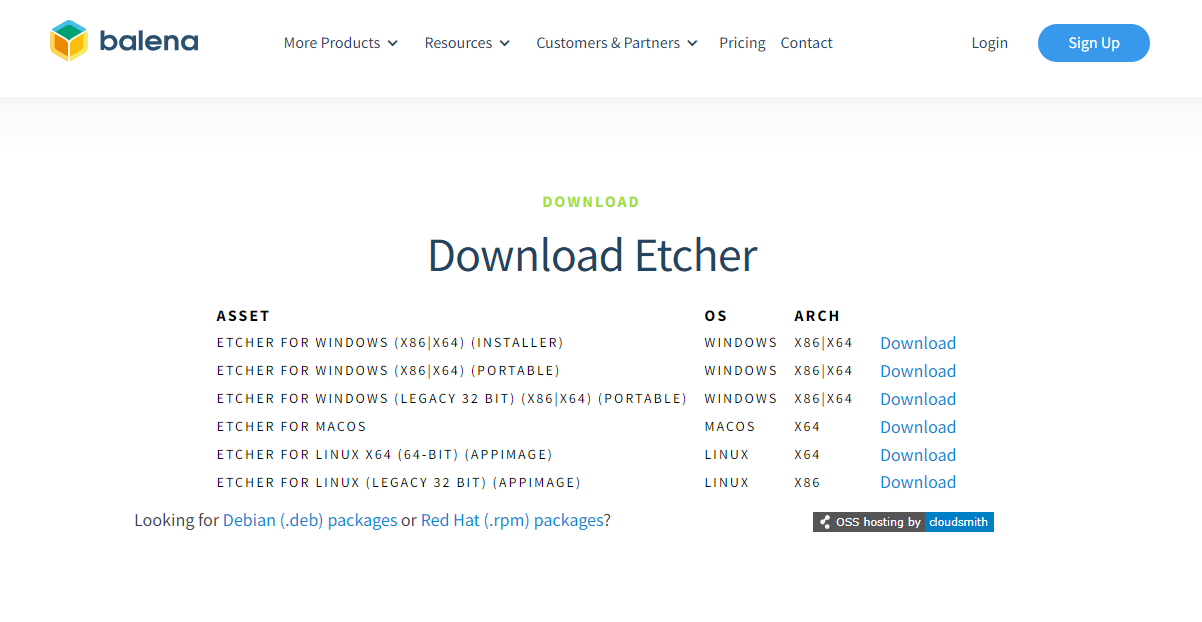
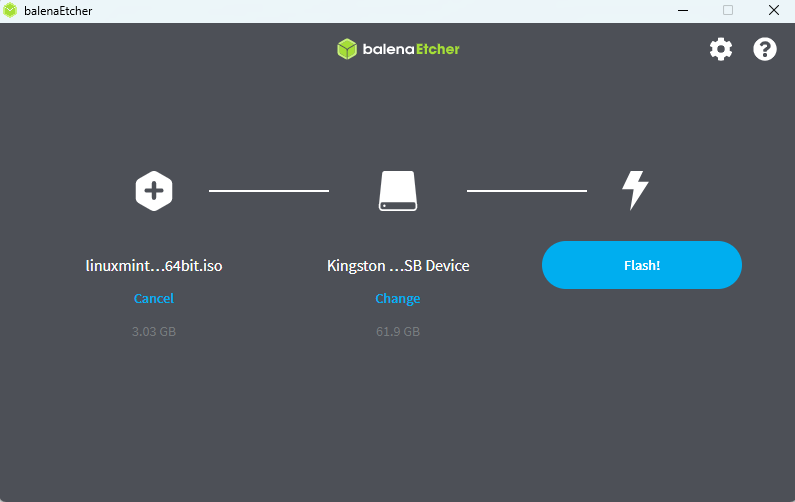
- Download a program to copy the previously downloaded image. For example, Balena Etcher [07]. I prefer the portable versions of these utility programs (obviously the one for Windows X86|X64).
- Open this program (Etcher in my case).
- Select the ISO file as the source and the USB stick as the destination. If the program asks to format the USB stick at this stage, choose Cancel because Etcher will overwrite all the contents of the USB stick.
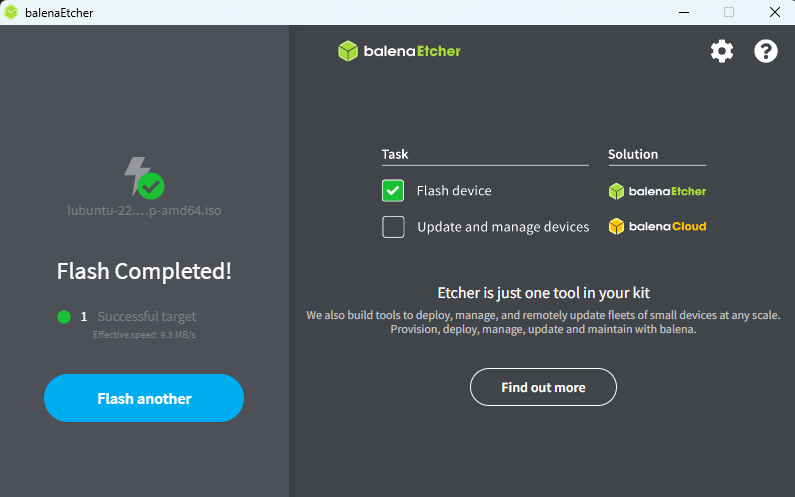
- Click on Flash!.
At this point, the ISO image with the operating system to install has been loaded onto the USB stick, which is ready to use.
3. Change the automatic boot settings in the BIOS
This is the most tedious part of the procedure because laptops are set to boot from the hard drive and not from a USB stick. Moreover, the steps to enter BIOS settings depend on the laptop or PC brand. In my case, it was an HP laptop. However, to force boot from the USB stick, you can follow one of these guides: [05] [06] [09]. In brief:
- Insert the USB stick into the old laptop.
- Restart the old laptop.
- While restarting, press and hold the F10 key.
- When the BIOS setup program starts (usually with a light blue or blue screen), read the instructions on how to navigate inside, usually at the bottom or right of the main screen.
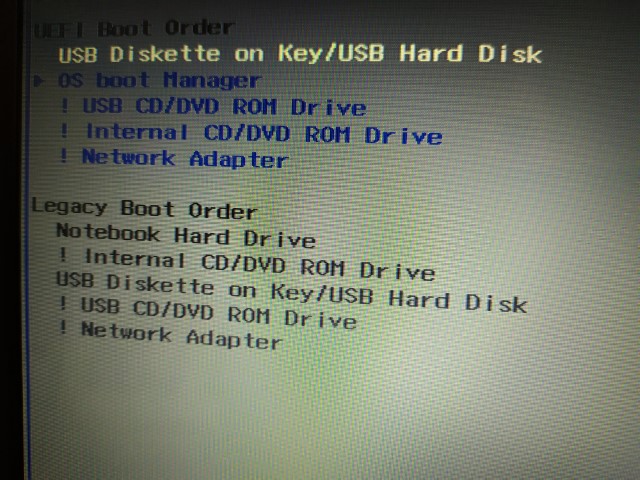
- Go to System Configuration->Boot options.
- Select and expand the Boot options entry.
- Make sure that in the boot order list, the first position is USB Diskette on Key / USB Hard Drive or something similar (in my case, I used the F5 and F6 keys to move the list items up or down).
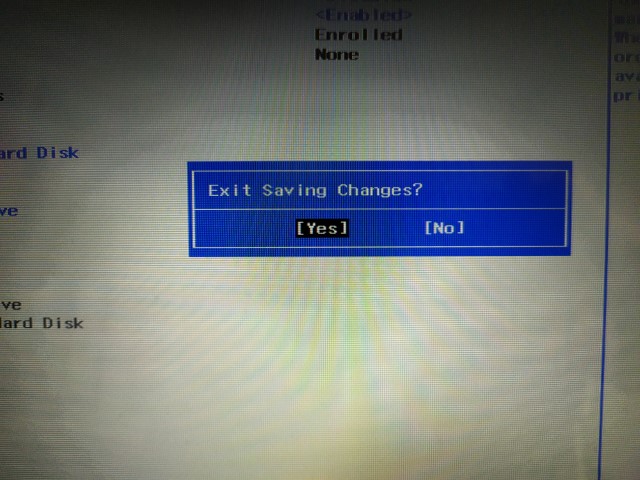
- Save the settings and exit (in my case, just press F10 and then Yes).
- Now the laptop should boot reading from the USB port. If not, turn it off and on again or recheck the steps in this section.
At this point, the laptop should have read the USB stick and loaded the image of the chosen Linux distribution.
4. Installing Linux Mint or Lubuntu
This phase of the procedure is very simple; you can follow the guide [08] or the guide [09]. It is advisable not to configure WIFI at this stage to speed up the installation and do it later after installation is complete. The procedure is practically the same for both Linux Mint and Lubuntu.
In brief:
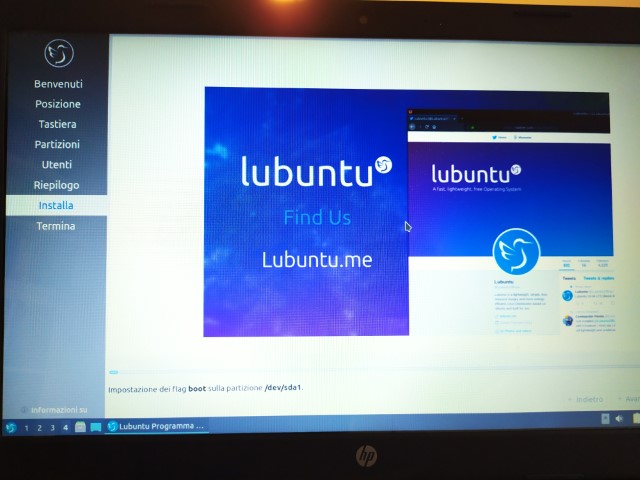
- Click on Install Lubuntu.
- Choose the system language and click Next.
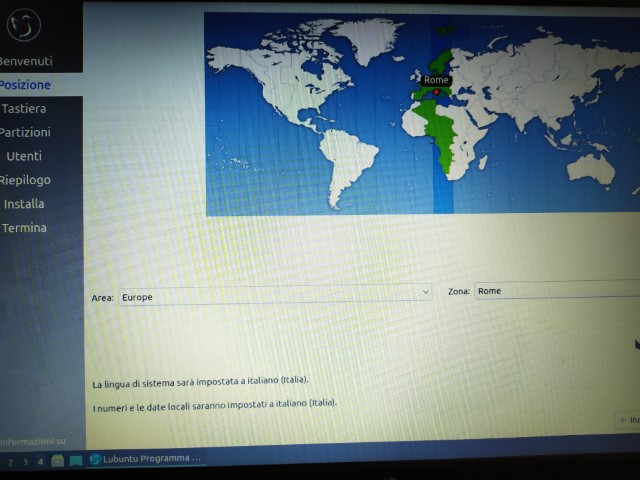
- Select the Geographical Area and time zone, then click Next.
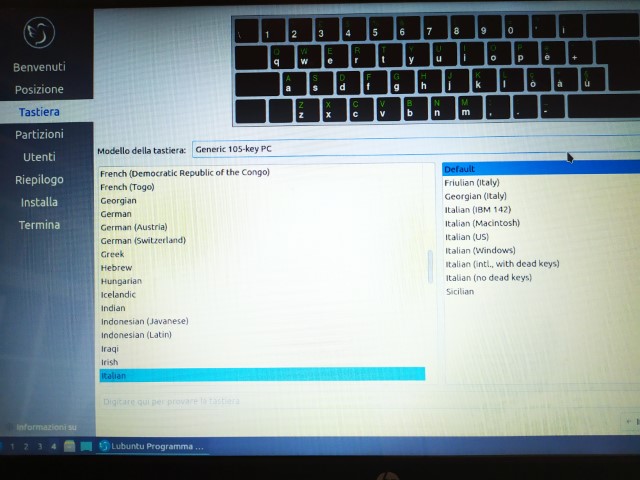
- Select the keyboard type (mine is a classic Italian keyboard) and click Next.
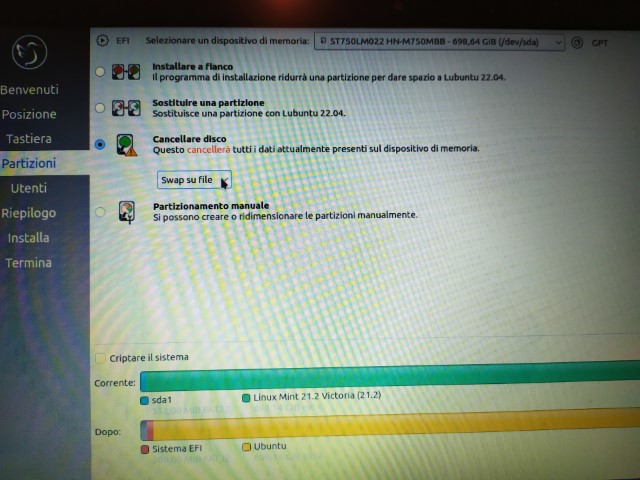
- Choose to erase the data on the disk and click Next.
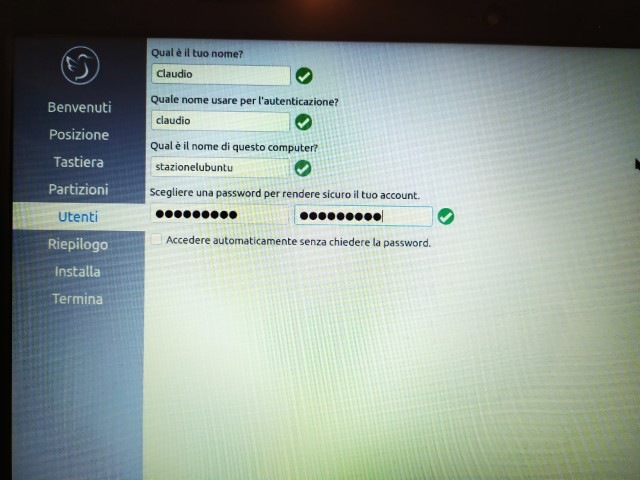
- Set the account details to access the system and click Next to start the installation.
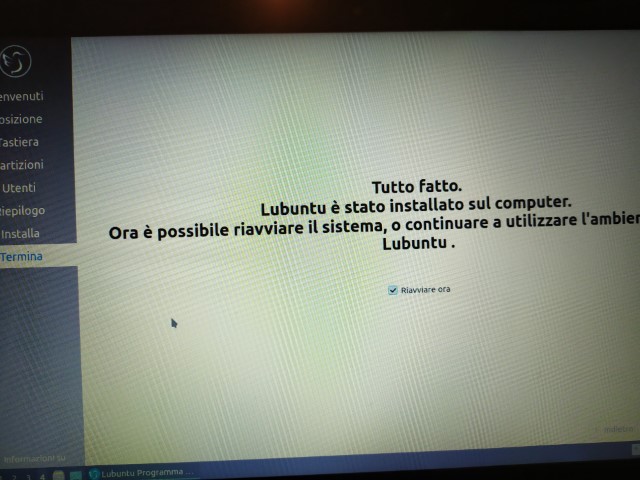
- Wait for the message indicating that the installation is complete.
- Click Finish.
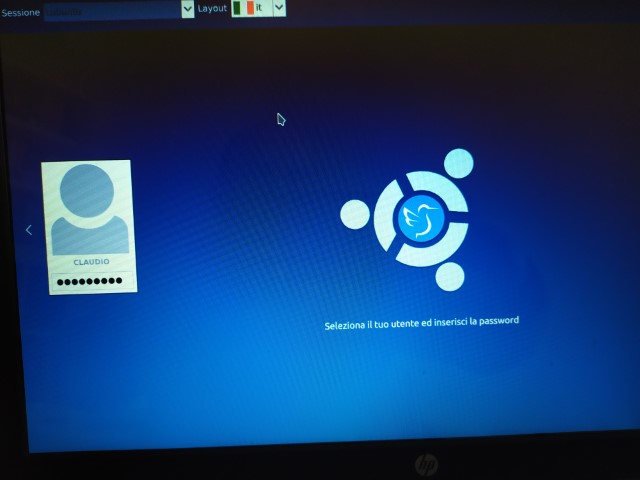
- The system restarts.
- While the system restarts, remove the USB stick so the image on the stick is not read again.
Since the USB stick has been removed, the PC will try to read it but, not finding it, will boot from the disk where Linux was just installed.
At this point, Lubuntu (or Linux Mint) is installed.
5. Restore the automatic boot settings in the BIOS
The purpose of this part of the procedure is to restore the settings modified in step 3 so that the PC does not try to boot from the USB stick every time. In brief:
- Enter the BIOS and reset the boot device order, placing the hard disk first in the list.
- Make sure the USB stick has been removed.
- Restart the laptop and ensure the operating system loads correctly.
At this point, you can proceed with:
- Configuring the WIFI,
- Updating the operating system and drivers, if necessary.
- Installing any programs you intend to use: I installed the Chrome browser.
Conclusions
This is a solution that could be adopted in schools, families, libraries, companies, public institutions, etc., basically anywhere you want to save a bit and need devices for simple Internet browsing.
The new system won’t be very fast, but it will definitely be usable for another couple of years.
Regarding the Linux Mint and Lubuntu distributions, the first is more user-friendly and requires no additional configuration, while the second is lighter and preferable for very old systems but may require manual installation or configuration of some components. I had some issues with video codecs.
Gallery
Sources and References:
- [01] Choose a Linux Distribution on Linux.it.
- [02] Linux Live USB on Linux.it.
- [03] Linux Mint Installation Guide.
- [04] What does “amarcord” mean? on Treccani.it.
- [05] Configuring Boot Order in System BIOS, HP support.
- [06] How to Configure Boot Order in System BIOS for HP Computers, HP support.
- [07] Balena Etcher, official site.
- [08] How to Install Linux Mint by Abhishek Prakash.
- [09] How to install Lubuntu, official documentation.
- [10] How to Enter BIOS by Salvatore Aranzulla.
- [11] Installing Linux on Linux.it.
- [12] Link to download Linux Mint: download latest Cinnamon Edition.
- [13] Link to download Linux Lubuntu: download latest recommended edition.
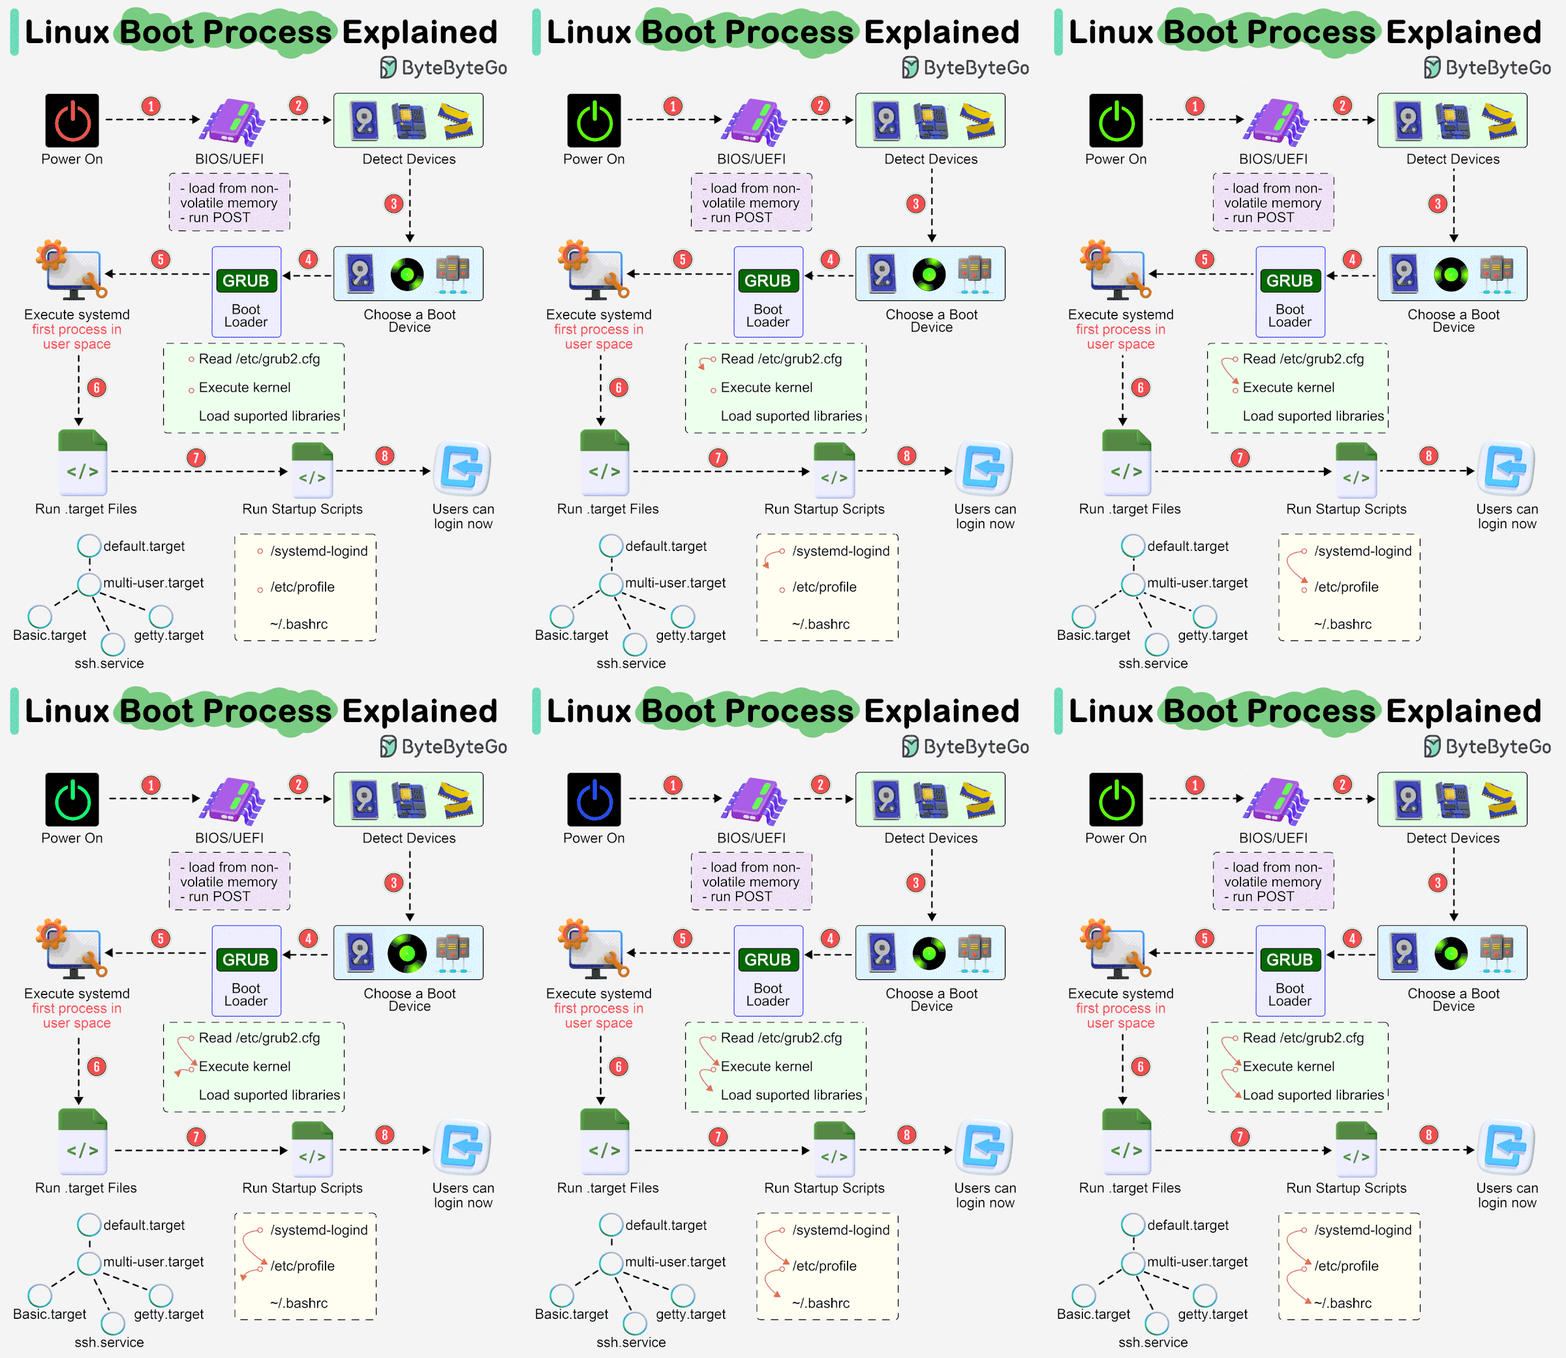
- [14] How Does Linux Boot Process Work? by ByteByteGo on Youtube.
*** Note: This article was automatically translated using a workflow created with n8n and OpenAI. The original version of the post is the Italian one.