In this post, we create a simple Helm Chart to install Cheshire Cat AI as an application (app) on a Rancher system based on Kubernetes.
We start by summarizing the key concepts of a Kubernetes system, then describe the Helm Chart, and finally see how to enable setting some parameters from the Rancher web interface during app installation and update.

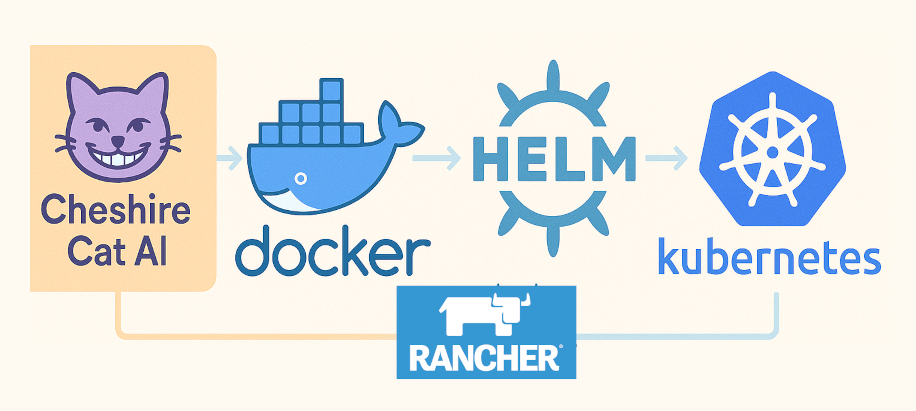
Introduction: System Components
Click on the name to read the description of each component.
In practice, it is possible to create, for example, an AI assistant with Cheshire Cat, install it on Docker containers within a Kubernetes-based system. All configurations of the components making up this system can be described via Helm Charts and managed through the Rancher web interface.
Description of the Helm Chart
The Helm Chart created defines all components that make up the system and allow the application to run on the cluster.
The main files are:
- Chart.yaml: The main file defining the package and containing chart metadata: version, name, icon, description, keywords, maintainers, etc.
- values.yaml: Contains configurable properties of all components, e.g., the Docker image of Cheshire Cat AI to use, the port it should run on, volume sizes, number of pod replicas, etc.
- questions.yaml: Defines interactive fields visible in the Rancher web interface to customize deployment.
- templates/deployment.yaml: Template to create the Deployment resource managing the app pods. Here, we create a kk-cheshirecatai container on which we install the image
ghcr.io/cheshire-cat-ai/core:latest and mount three volumes: static-volume, data-volume, and plugins-volume. We also define the environment variable CCAT_API_KEY and expose ports 80 and 5678.
- templates/service.yaml: Specifies the ports the service exposes (80 and 5678) and how load balancing is performed (ClusterIP).
- templates/ingress.yaml: Specifies that the application is associated with the URL cheshirecatai.cbc.it and must handle HTTPS.
- templates/secret.yaml: Defines the secret cheshirecatai-secret, an API key that can be used for communication between a WordPress site and this Cheshire Cat AI instance.
- templates/_helpers.tpl: Contains reusable functions to centralize creation of names and labels for reuse in other files, e.g., {{- define “kk-cheshirecatai.name” -}}.
As mentioned, all files are in YAML format except the last one; the extensions yaml or yml can be used interchangeably.
How Rancher’s questions.yaml Works
All YAML files defining cluster components contain variables, for example:
{{ .Values.service.ports.http }}
{{ .Values.image.repository }}:{{ .Values.image.tag }}
{{ .Values.image.pullPolicy }}
This syntax indicates that the value to use is the one present in the values.yaml file.
When an application is installed or updated on Kubernetes, all variable values are retrieved and used to create a component.
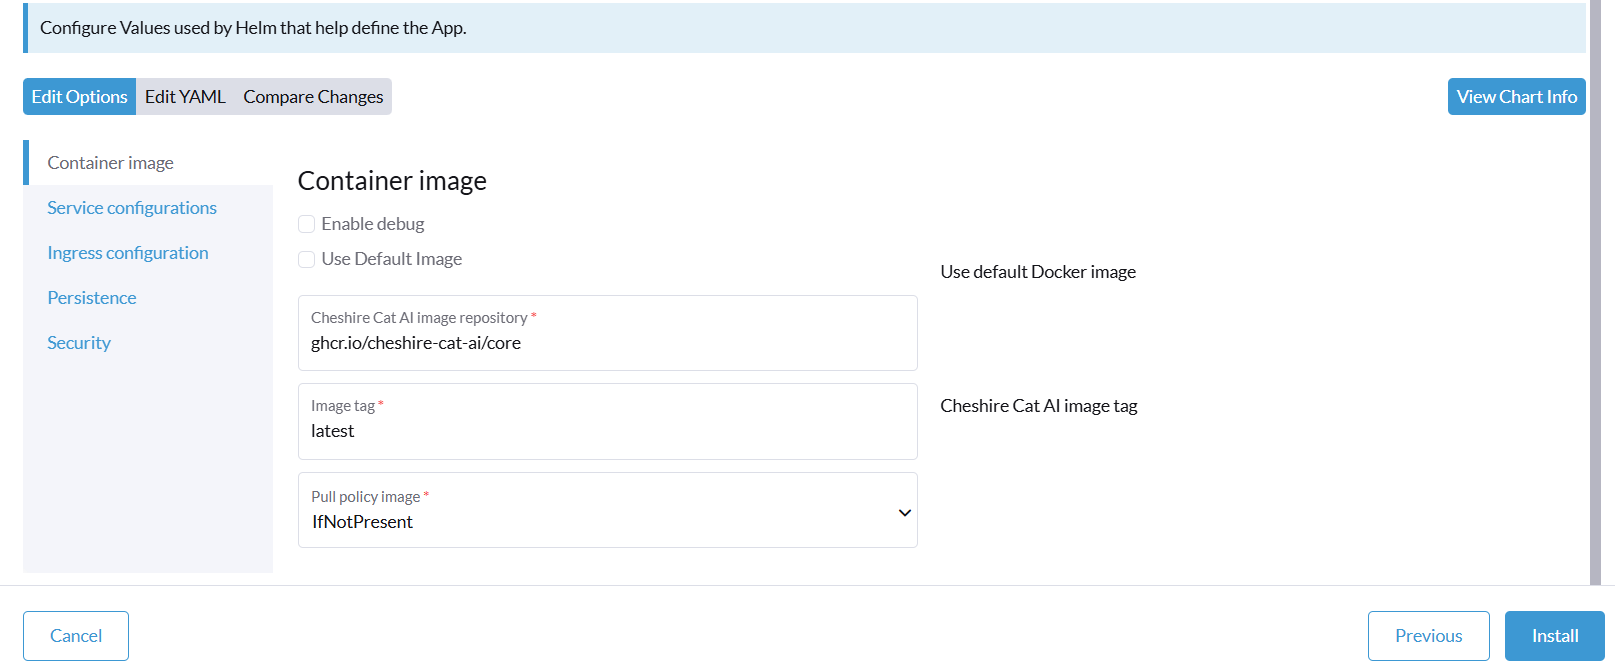
On Rancher, it is possible to set all or a subset of parameters via its graphical interface. To do this, the parameters to be set must be indicated in the questions.yaml file, as shown in the following screenshot. During installation or update, these values are used to build a new values file, which merges the original with the overridden values from questions.yaml. The new values file is passed to the helm command with the –values parameter, and its values are used to create/modify various components (deployment.yaml, service.yaml, ingress.yaml, etc.).
App Verification and Installation
When creating Helm Charts, it is easy to make various errors, especially syntax and indentation mistakes.
You can run these two commands: the first performs simple checks, the second produces a file describing all components that will be created/modified, substituting variables with the values to be used (except for customizations made directly on Rancher).
helm lint
helm template my-release . --debug > prova.yml
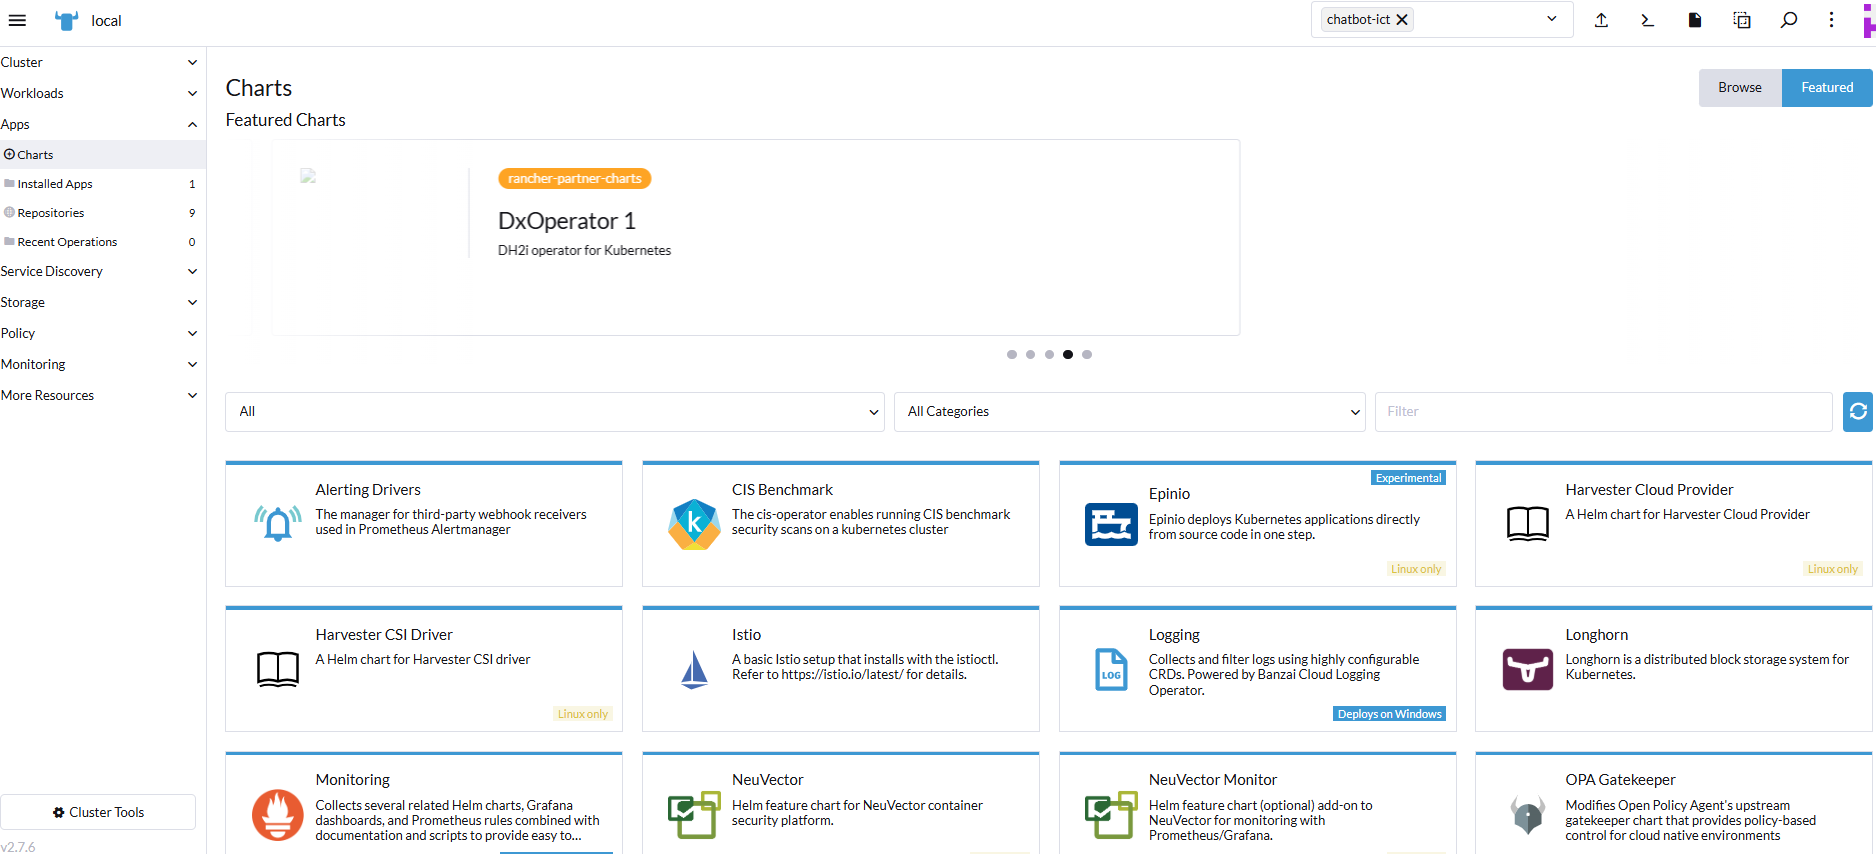
To install the application on Rancher, you need to connect it to the repository containing the Helm Chart (Rancher->Apps->Repositories).
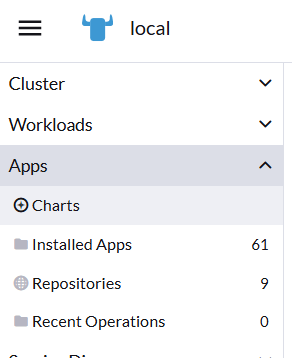
At this point, the app will be visible in Rancher->Apps->Charts and can be installed via the web interface.
To install/update the app directly on Kubernetes, without Rancher, you can use these commands:
helm install kk-cheshirecatai .  --namespace cheshire-cat --create-namespace
helm upgrade kk-cheshirecatai . --namespace cheshire-cat
However, in this case, the questions.yaml file is ignored.
Sources and References
- Cheshire Cat AI, official website.
- Docker, official website.
- Kubernetes, official website.
- Helm, official website.
- Rancher, official website.
- Simple chatbot for WordPress with Cheshire Cat AI, on this blog.
- Components and technologies for managing a microservices system, on this blog.
- Microservices: architecture, components, and interoperability, on this blog.
- Helm chart described in this article.
*** Note: This article was translated using an automated workflow built with n8n and OpenAI.