Node-RED is a platform that enables visual design of automation flows; it is widely used in the context of IoT (Internet of Things) but can also be used for creating APIs, server services, integrations, and prototypes.
Flows are created using a drag-and-drop graphical interface, connecting various types of nodes such as input, output, logic, APIs, IoT devices, etc.
A few years ago, I wrote a couple of posts on this topic [2][3], but since I might need it for a project, I decided to revisit the subject.
Meanwhile, I had to replace the server where I was testing, so I found myself needing to reinstall Node-RED. Here I report the steps I followed.
Installing Docker on Ubuntu
This time, I preferred to use a Docker container rather than a direct installation on the Ubuntu server, making it easier to update and potentially transfer data.
So first, I installed Docker with these commands [4], my server currently runs Ubuntu 22.04.5 LTS:
# Update the list of available packages
sudo apt-get update
# Install SSL certificates and curl (needed to download keys and access HTTPS repositories)
sudo apt-get install -y ca-certificates curl
# Create the directory for third-party APT keys if it doesn't exist
sudo install -m 0755 -d /etc/apt/keyrings
# Download Docker's official GPG key and save it in the keyrings folder
sudo curl -fsSL https://download.docker.com/linux/ubuntu/gpg -o /etc/apt/keyrings/docker.asc
# Set read permissions for the key to allow APT to use it
sudo chmod a+r /etc/apt/keyrings/docker.asc
# Add Docker's official repository to APT sources using the saved key
echo "deb [arch=$(dpkg --print-architecture) signed-by=/etc/apt/keyrings/docker.asc] https://download.docker.com/linux/ubuntu $(. /etc/os-release && echo \"${UBUNTU_CODENAME:-$VERSION_CODENAME}\") stable" | sudo tee /etc/apt/sources.list.d/docker.list > /dev/null
# Reload package list, now including Docker
sudo apt-get update
# Install Docker Engine, CLI, containerd, and Buildx and Compose plugins
sudo apt-get install -y docker-ce docker-ce-cli containerd.io docker-buildx-plugin docker-compose-plugin
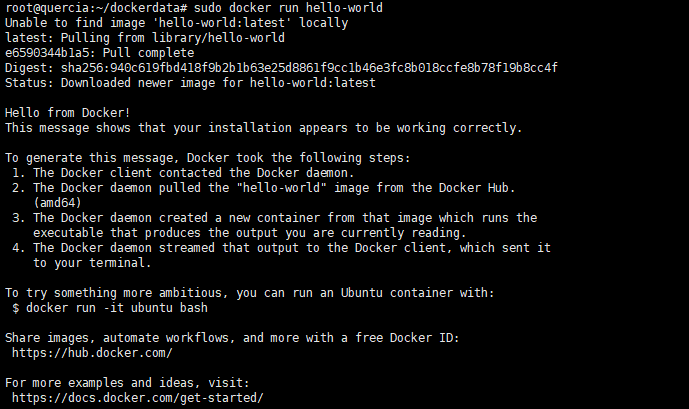
# Test: run a test Docker container to verify installation
sudo docker run hello-world
I installed Docker as the root user; in a production system, it might be better to install it under a different user for security reasons.
The last command verifies that Docker is installed and working correctly; the output should look similar to the screenshot below:
Installing Node-RED on Ubuntu
Next, to create the Node-RED container, I performed the following steps:
mkdir /root/dockerdata/nodered
cd /root/dockerdata/nodered
vi docker-compose.yml
In the docker-compose.yml file, I added the following content:
version: '3.8'
services:
  node-red:
    image: nodered/node-red:latest
    container_name: mynodered
    restart: unless-stopped
    ports:
      - "1880:1880"
    volumes:
      - node_red_data:/data
    environment:
      - TZ=Europe/Rome

volumes:
  node_red_data:
Finally, I ran the command to create the container: docker compose up -d
The installation is complete, and the command docker ps should show that the container:![]()
- Is running.
- Is listening on port 1880 on all network interfaces.
- Has a certain container id for reference, but also a more convenient name: mynodered.
Below are some commands I frequently use to manage containers; you can also refer to this cheat-sheet to learn more [5]:
docker ps                             # Show running containers
docker ps -a                          # Show all containers, including stopped ones

docker start mynodered               # Start the container named 'mynodered'
docker stop mynodered                # Stop the container 'mynodered'
docker restart mynodered             # Restart the container 'mynodered'

docker rm mynodered                  # Remove the container 'mynodered' (must be stopped)

docker images                        # List all local Docker images
docker pull nodered/node-red         # Download the 'nodered/node-red' image from Docker Hub
docker rmi nodered/node-red          # Remove the 'nodered/node-red' image from the system

docker exec -it mynodered /bin/bash  # Open an interactive bash shell in the 'mynodered' container
                                     # ⚠️ Works only if the image has /bin/bash available

docker system prune                  # Remove unused resources (containers, images, volumes, networks NOT in use)
                                     # ⚠️ WARNING: can delete data if used carelessly

docker volume inspect nodered_node_red_data  # Show details about the 'nodered_node_red_data' volume

docker volume ls                     # List all Docker volumes

docker volume rm                     # ❌ Error: incomplete command, volume name missing
docker
Publishing the Service
At this point, Node-RED is running and could be accessed at http://localhost:1880 if the server had a graphical environment and a browser. But since, as in this case, that condition never occurs, it is necessary to allow access from the address: http://<server_ip_address>:1880.
This can be done by configuring the firewall, for example with a command like:
sudo ufw allow 1880/tcp
sudo ufw status
I preferred to create a virtual host on Apache to access the service with a dedicated domain and on port 443 (SSL).
Basically, I followed these steps:
- I modified the DNS so that the domain nodered.claudiobattaglino.it points to my Ubuntu server.
- I created a virtual host defined as follows:
<VirtualHost *:80> ServerName nodered.claudiobattaglino.it ProxyPreserveHost On ProxyRequests Off ProxyPass / http://localhost:1880/ ProxyPassReverse / http://localhost:1880/ ErrorLog ${APACHE_LOG_DIR}/nodered_error.log CustomLog ${APACHE_LOG_DIR}/nodered_access.log combined RewriteEngine on RewriteCond %{SERVER_NAME} =nodered.claudiobattaglino.it RewriteRule ^ https://%{SERVER_NAME}%{REQUEST_URI} [END,NE,R=permanent] </VirtualHost> - I installed an SSL certificate for this virtual host using Let’s Encrypt.
- Restarted Apache.
Now Node-RED is reachable at: https://nodered.claudiobattaglino.it (when the Docker container is running, of course).
Setting a Password
After installation, it is advisable to protect access to the Node-RED interface with a password because, unfortunately, authentication is disabled by default.
To enable it and set up an access account, follow this procedure:
docker exec -it mynodered /bin/bash # Opens a shell in the mynodered container
node-red admin hash-pw # Generates a password hash for the admin user (when prompted, enter your chosen password and note the hash generated by the command)
vi /data/settings.js # Edit the settings.js file
In the settings.js file, find the commented section containing adminAuth and write:
adminAuth: {
    type: "credentials",
    users: [{
        username: "admin",
        password: "<hash_of_the_password_generated_before>",
        permissions: "*"
    }]
},
Then simply restart the container and access the site to verify that authentication is active:
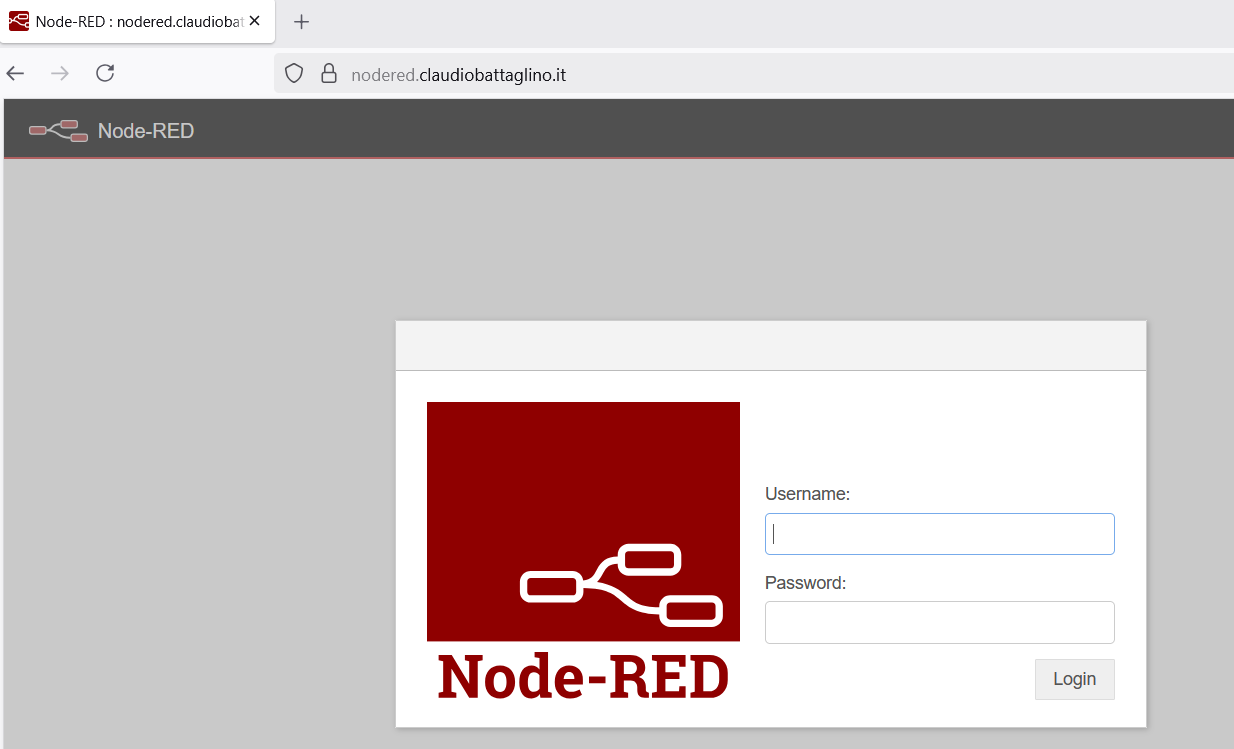
The account to log in is admin / <password_set_before>.
Future Developments
I have read that nodes have been developed to query and interact with LLM models. This is very important because it can facilitate the creation of very useful flows.
Of course, I will use it for the usual small projects; for example, one could create a flow in the IoP (Internet of Plants) domain to monitor plant status.
Stay tuned!!!
Sources and References
- Node Red, official website.
- Web service with Node Red: how to make measurement data available, on this blog.
- An interesting course on NodeRed, on this blog.
- Installing Docker on Ubuntu, official documentation.
- The Ultimate Docker Cheat Sheet, on DockerLabs.
- Instructions for creating a certificate with Let’s Encrypt.
- Node-RED Essentials, official product presentation on Youtube.
- List of available nodes on Node-RED, on the official site.
*** Note: This article was translated using an automated workflow built with n8n and OpenAI.